Banana-Oat Pancakes

Hipcamp_BP_10

Late last year, I had the chance to contribute to the Hipcamp Journal.

Hipcamp, for those of you who aren’t familiar, is a comprehensive search platform for campsites across the country. They aim to connect people with the outdoors, and “to inspire the next generation of people who are passionate about exploring AND protecting our lands.”  A mission I can definitely stand with, but an incredible resource as well.

Hipcamp_BP_06

For their site, I came up with a recipe for pancakes that are easy to prepare outdoors. Since I do not eat any dairy, wheat, or soy – you won’t find any of these ingredients in the recipe either. The base, which frequently is the case for gluten-free (and paleo) pancakes, is bananas. Bananas are one of my miracle foods. I buy them every time I go to the grocery store – frequently for pancakes or banana bread, or to eat with almond butter, freeze & blend in smoothies, or for this Banoffee Pie from My New Roots. The other ingredients are simple but wholesome – gluten-free oats to give texture, and almond meal for flavor and sustenance.

To find the recipe & full post, go to Hipcamp’s Journal here.

Hipcamp_BP_11

Cashew-Almond Milk

In the last year or so, my cooking has slowly gravitated towards staple-making. I like the idea of preparing the things that Jon and I eat super regularly, that form a sort of foundation from which we can assemble other dishes. Nothing super complicated.

I credit the origin of this idea to a few years back, when I read Tamar Adler’s Everlasting Meal.  She writes, “Cooking is both simpler and more necessary than we imagine. It has in recent years come to seem a complication to juggle against other complications, instead of what it can be – a clear path through them.” Though I’ve loved food for a long time, reading this is one of only a small handful of moments that I can credit with changing my approach to cooking entirely.

Almond Milk_02

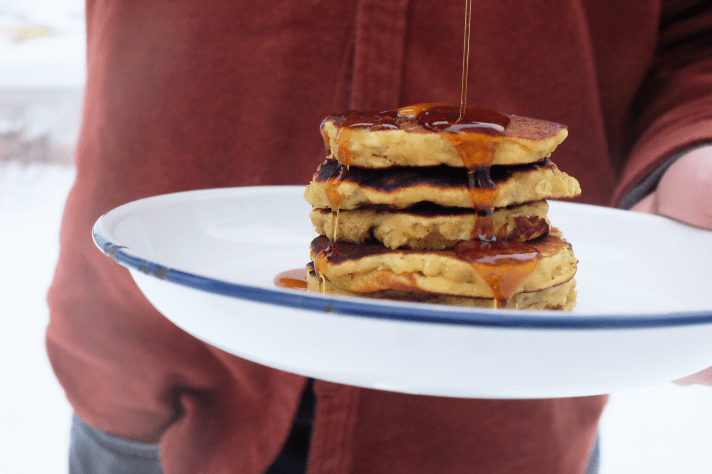
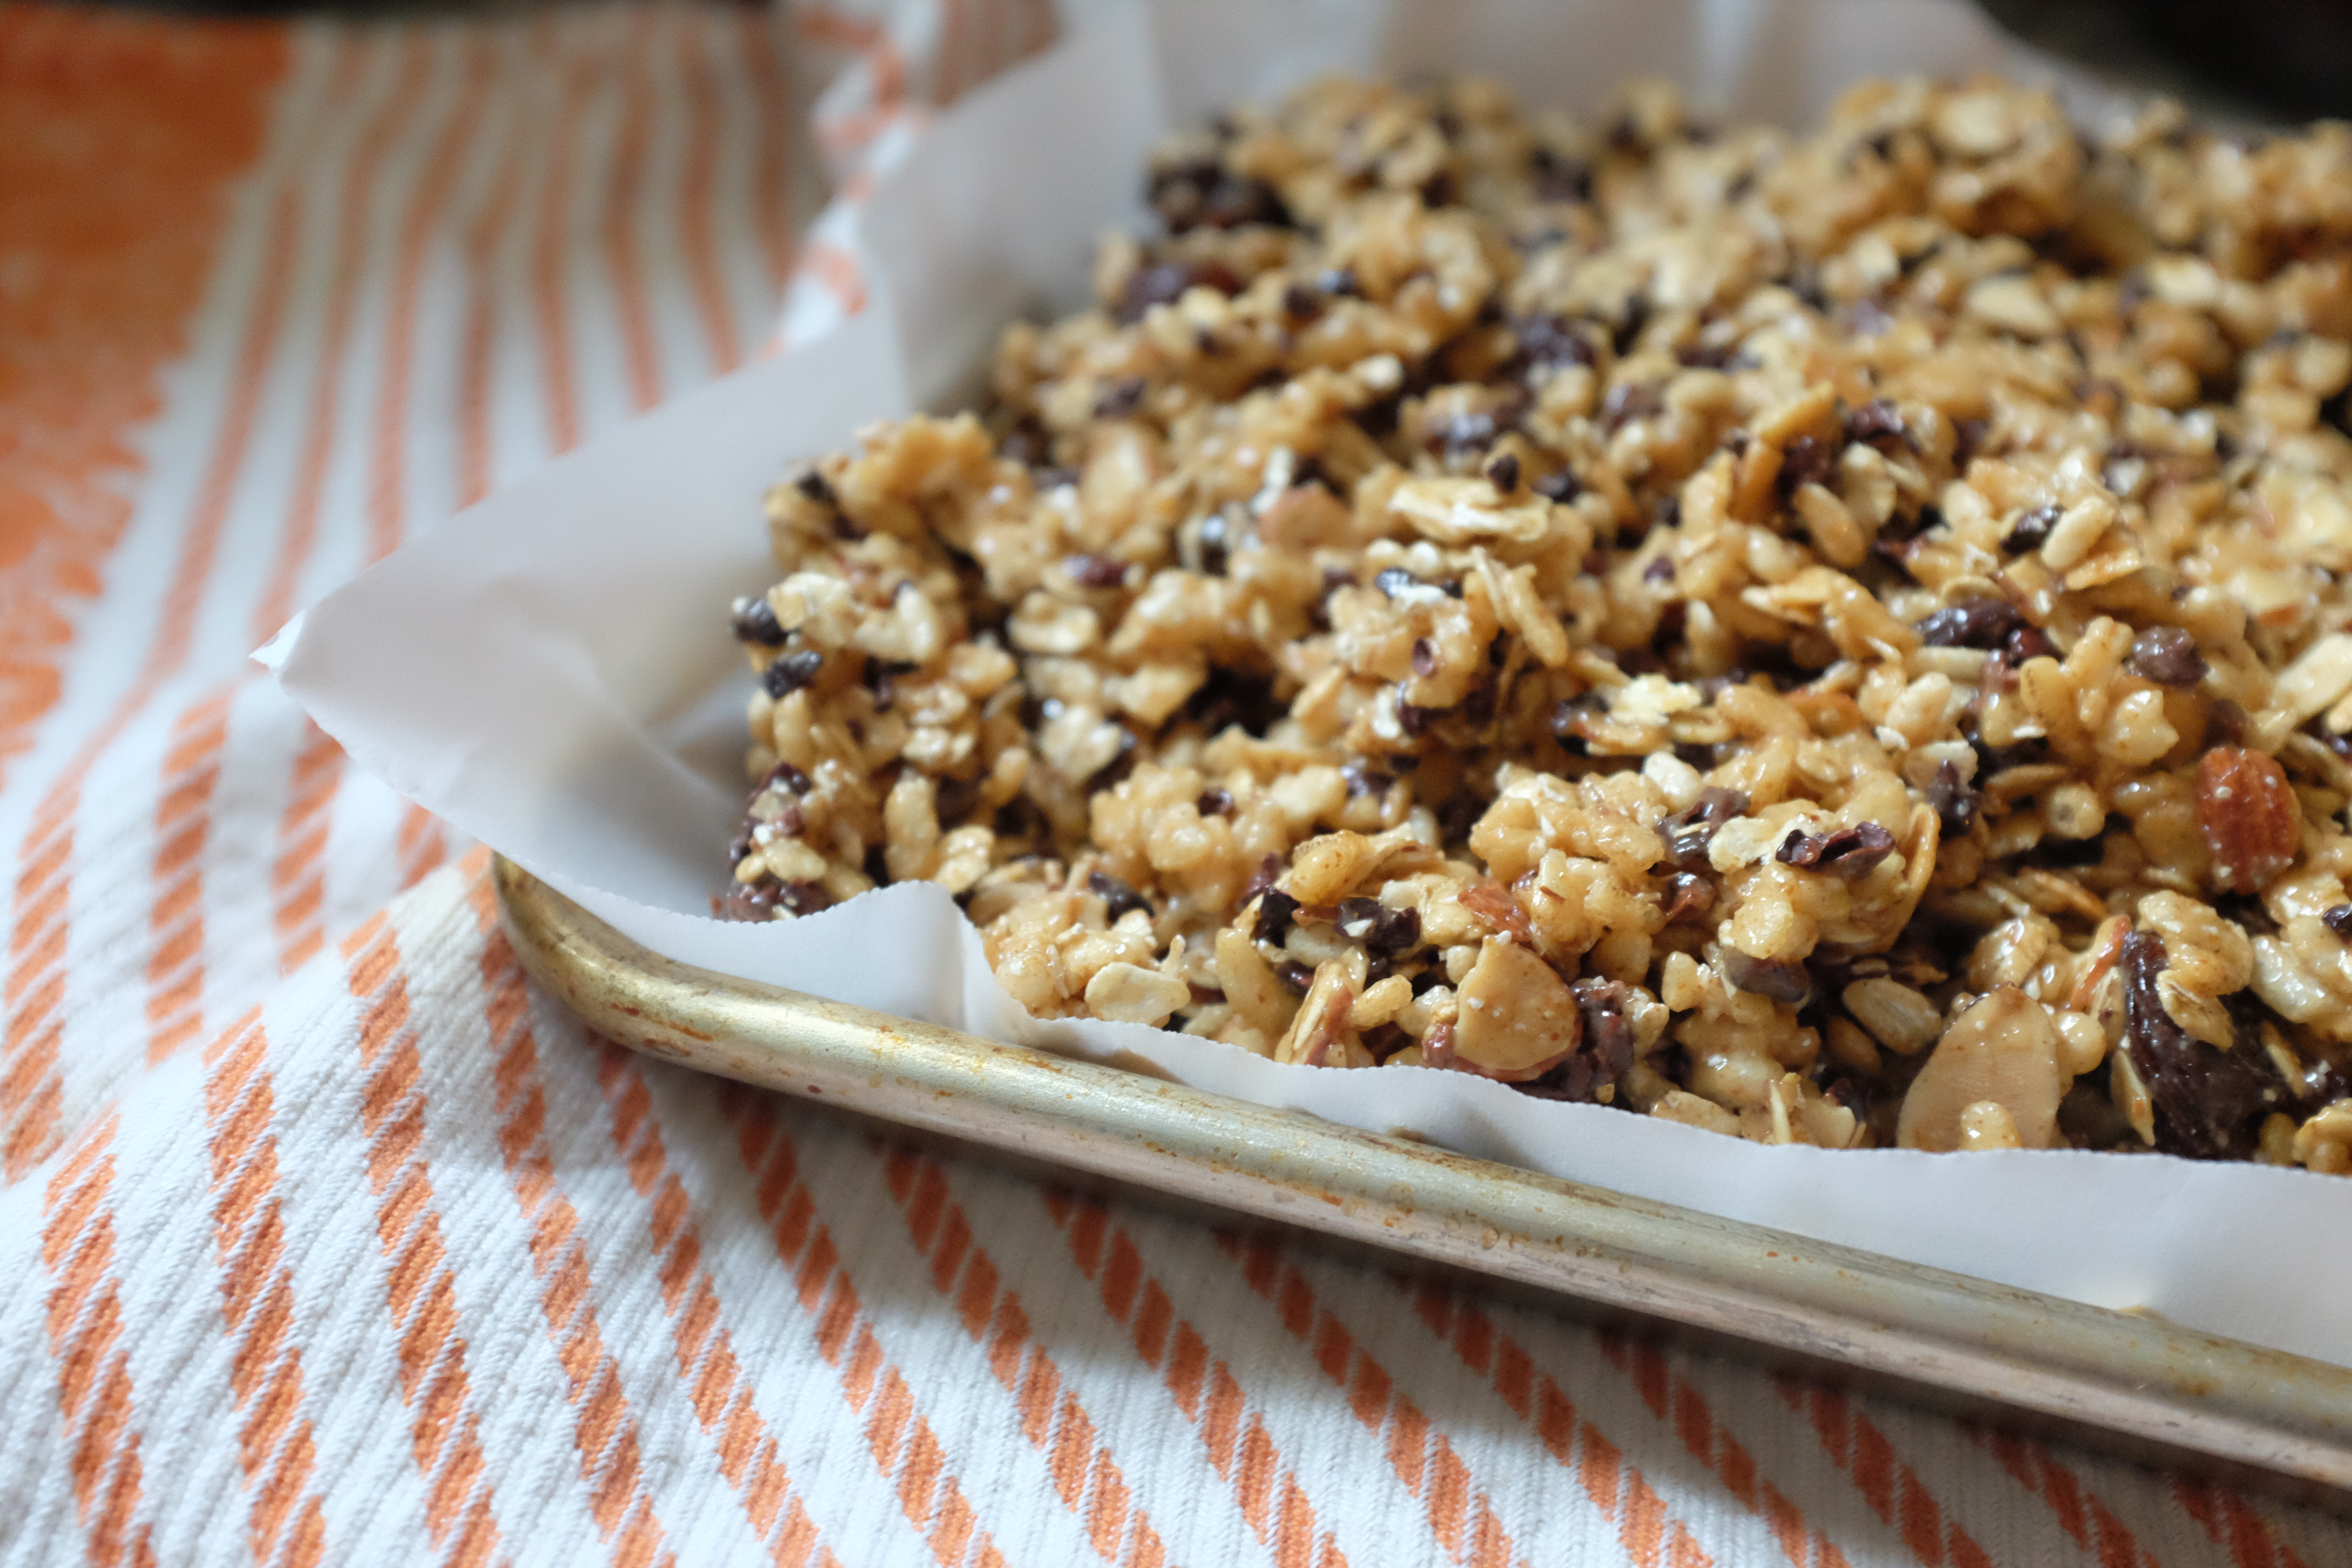
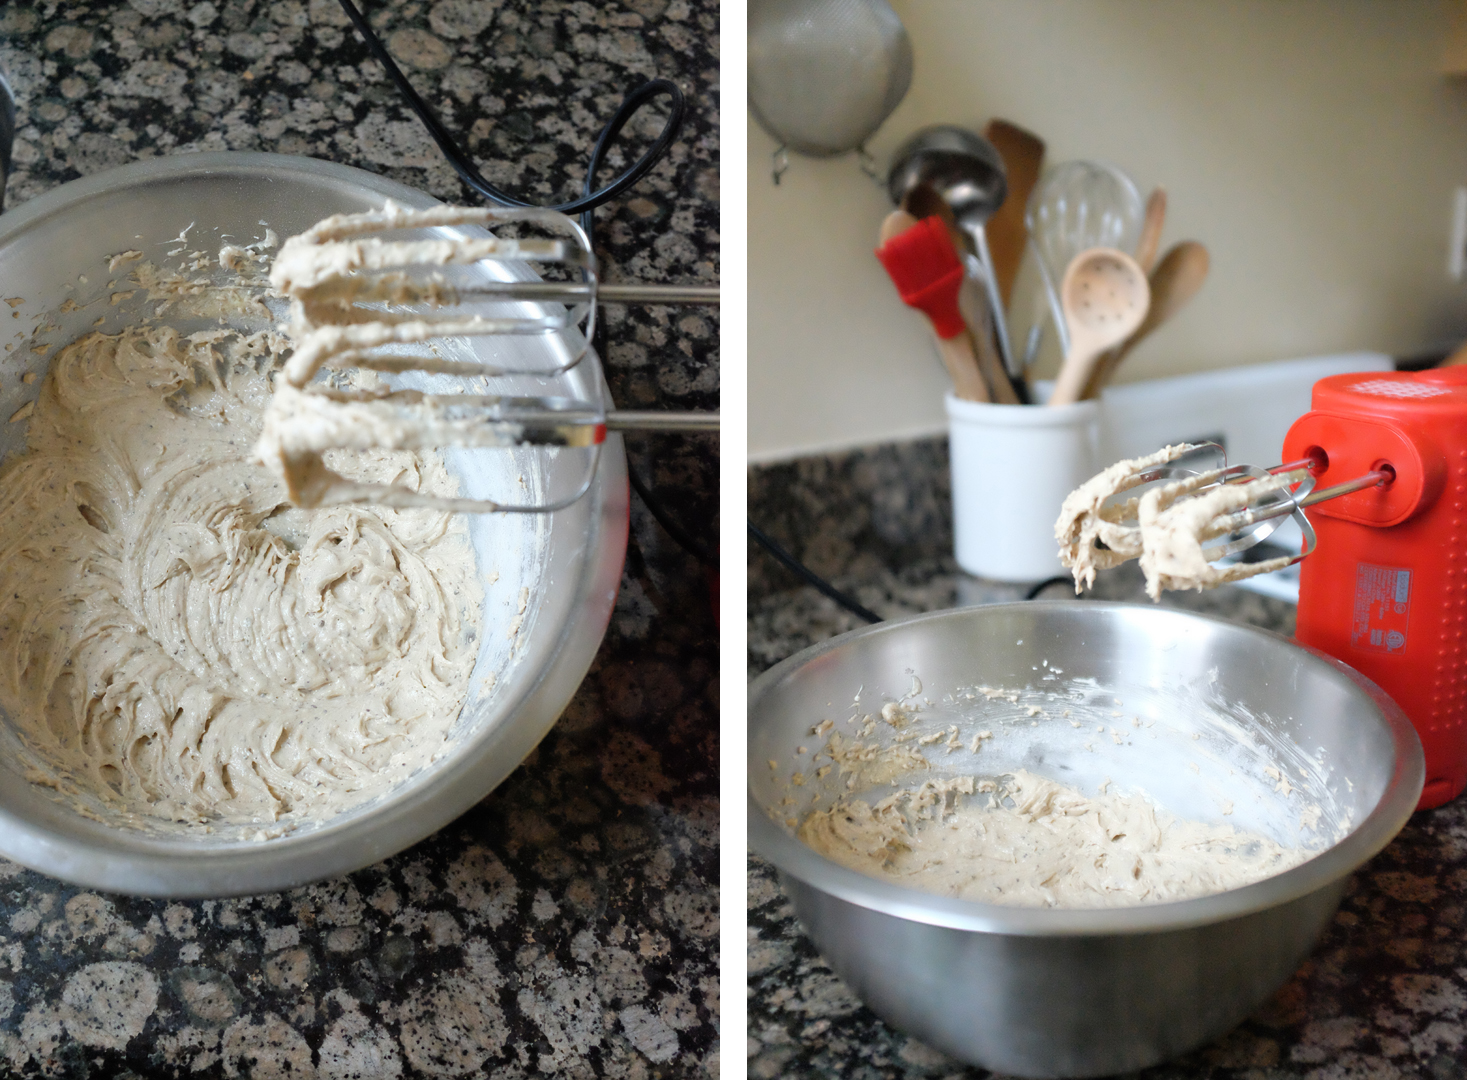
Around here, staples include almond butter, milk & cheese; various salsas, tomato sauces, pestos, aioli, hummus, etc.; granola bars and granola; roasted and puréed vegetables; brown rice, soba noodle, or quinoa salads; and always something sweet- chocolate chip cookies and almond butter cups are the most popular. The process of staple-making has taken me through a rhythm of refining, adventuring out with new flavors & combinations, and returning to old favorites. These are the things I enjoy making the most and, time willing, will continue to make.

So, here is my process for making almond milk. Since almonds can be pretty expensive, even more so now that I’m not living in California, I’ve switched to a 50-50 cashew almond blend, which I find to be even creamier than straight almond milk.

Almond Milk_03

Cashew-Almond Milk
Makes 2 quarts

1 cup cashews (unsalted)
1 cup almonds (unsalted)
8 cups Filtered water
4 Medjool or 8 deglet noor dates, split between two batches
1/2 tsp. salt, divided
1/2 tsp. cinnamon, divided

Tools you’ll need: a high-power blender, and nut milk bag or tight-woven linen cloth 

Place the cashews and almonds in a large bowl and cover with water. Soak for at least 24 hours, but up to 48-72 hours if time allows.

After soaking, pour the nut mixture into a strainer and rinse under cold water, stirring with your hand, until the water runs clear.

Combine 1/2 of the soaked nuts with 4 cups water, 2 (or 4, depending on the variety) dates, 1/4 tsp. salt & 1/4 tsp. cinnamon. Blend on high for 2-3 minutes. Meanwhile, take a clean bowl or wide-mouthed pitcher and line with the towel or nut milk bag. Pour the blended milk into the bowl, being careful not to let it spill over the edge. Gather the ends of the towel and, working slowly, squeeze to filter the milk out of the pulp.

Almond Milk_05

Once you have a roughly 1/2-3/4 pulp remaining in the towel, you should be done. Pour the milk into an air-tight storage container and repeat the process with the remaining ingredients.

Store the almond milk in the fridge. I find it tastes best when consumed in the first 4-5 days. Since there isn’t a preservative other than the salt, it will start to turn around then, but if it does and you haven’t used it all, it can still be used in place of a buttermilk in baking.

Almond Milk_04.jpg

A few other notes:

C O F F E E : I drink this almond-cashew milk almost every day in my coffee. It froths really well (maybe best 1-2 days after making it). Some separation happens after it sits in the coffee for a bit, but you can quickly stir to recombine and it tastes exactly the same.

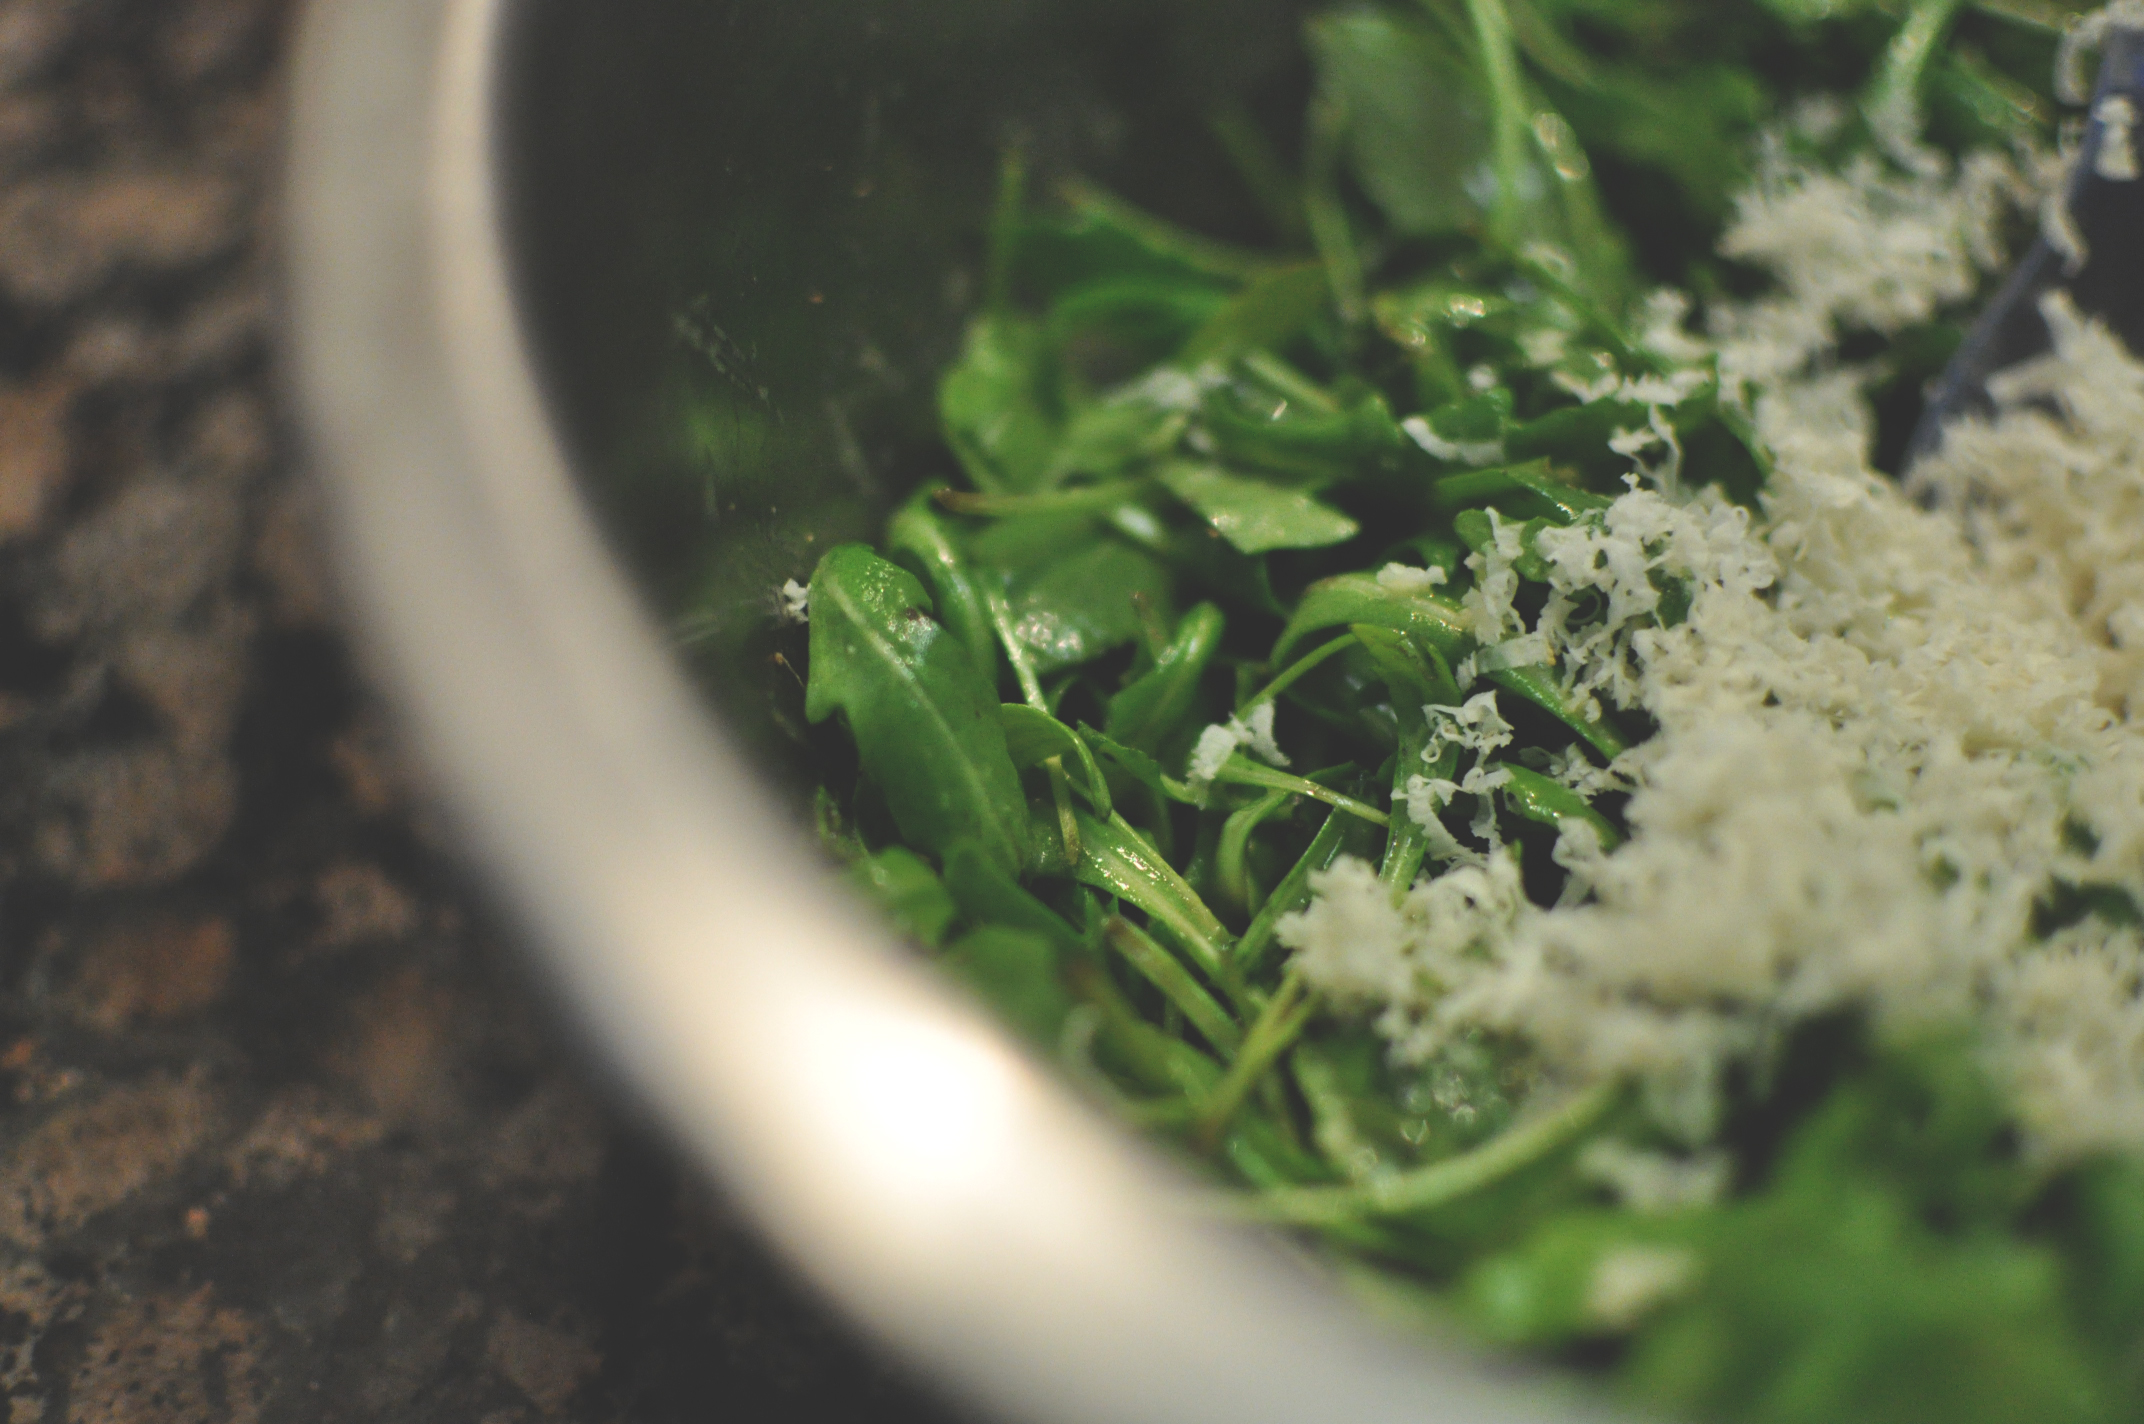
D A I R Y  S U B S T I T U T E S: If I know I’ll be using this almond-cashew milk as a substitute for milk in a savory recipe, I’ll just use a little salt and leave out the dates. If you make it this way, it’s worth removing the skins (from the almonds) and using the pulp to make cheese. Season with lemon juice, salt, nutritional yeast & chili flakes and it makes a pretty convincing goat cheese substitute- especially if left out to ferment for a few days at room temperature.

V S .  S T O R E  B O U G H T : This is definitely a recipe that is worth every bit of time and effort. Those of you who have already made almond milk at home may not need convincing, but homemade has been a total game changer for me. The best store-bought version I’ve found is Marin Living Foods, which, to my knowledge, is only available in the Bay Area. Until I find something that compares, I will be making my own!

V A R I A T I O N S : Cocoa Almond Milk – blend 1 cup of this cashew-almond milk with 2 tsp. coconut butter, 2 tsp. dutch process cocoa powder & 1 date

Please email me with questions! I’ve been making this once a week for the last year (ore more!), so am happy to help however I can.

Curate Chicago Pop-up in Kalamazoo!

This weekend I’ll be in Kalamazoo for Curate Chicago‘s Holiday Pop-up shop! My cousin Christina is the talented co-founder and owner, and decided to host her first ever holiday pop-up in our hometown.

I am really excited to be joining her on Saturday and Sunday to sell some of my favorite food “staples” – almond milk, granola bars, and almond butter cups. For those who are or were able to attend, I wanted to share some information about ingredients and sourcing here. Details about the event are also included below. Hope to see you!

Curate Chicago Kalamazoo Pop-up

  • Location: 116 W. South Street, Kalamazoo, MI 49007
  • Date: December 1 – December 7
  • Hours: 10am – 5pm

Here’s a list of everything I’ll be selling:

dscf3826

Cherry Almond Granola Bars 
Ingredients: gluten-free oats, brown rice cereal, slivered almonds, dried dark cherries, cocoa nibs, homemade almond butter*, Fase Apiaries wildflower honey, cinnamon, sea salt. Allergens: tree nuts.

dscf3880

Toasted Oat Tahini & Hazelnut Bars
Ingredients: gluten-free oats, brown rice cereal, hazelnuts, coconut, raw tahini, Michigan raw honey, Dutch-process cocoa powder, coconut oil, Michigan maple syrup, Nielsen-Massey Madagascar bourbon pure vanilla extract. Allergens: tree nuts.

dscf3834

Salted Almond Butter Cups
Ingredients: Enjoy Life chocolate chips, homemade almond butter*, Fase Apiaries wildflower honey, organic powdered sugar, Nielsen-Massey Madagascar bourbon pure vanilla extract, sea salt, Maldon sea salt (for finishing). Allergens: tree nuts.

Cinnamon Date Almond Milk 
Ingredients: California almonds**, medjool dates, cinnamon, sea salt. Allergens: tree nuts.

Cacao Almond Milk
Ingredients: California almonds**, medjool dates, sea salt, coconut butter, Dutch process cocoa powder. Allergens: tree nuts.

*the almond butter is made with almonds only – no oil or salt added
**the almonds were purchased from D&S Ranch in Oakhurst, California, and are from a crop harvested in September.

All ingredients and packaging were sourced from small businesses or farmer’s markets in Southwest Michigan whenever possible. For the almonds, I purchased them directly from D&S Ranch in California for two reasons- 1) to support the grower! and 2) freshness matters so much, especially when it comes to the almond milk & almond butter. The almonds are the foundation of every one of these recipes, so starting with a quality ingredient makes for a much more delicious finished product.

dscf3819

One final note: shelf life! Almond milk is best consumed within 4-5 days, the granola bars will keep in the fridge for at least 3 weeks, and the almond butter cups can be frozen & consumed whenever!

espresso chocolate chip cookies

Happy new year! This January marks two years since I gave up eating gluten, and my baking life hasn’t really been the same since. There have been a few successes, most notably this cornmeal almond cake, some brownies, and a few other things here and there, but for the most part my forays into gluten-free baking have been far from successful. Sunken loaves of banana bread, and several dozen variations of cookies which began with a lot of hope and twelve spoonfuls of dough on the cookie sheet, yet somehow always became one thin, crumbly mess. I know there are gluten-free baking mixes out there, but I haven’t found one that works for me- either it contains dairy (off limits), has a grainy texture, or still leads to the aforementioned pancake cookie.

And then, about a month ago, one of my co-workers at Williams-Sonoma gave me the recipe for gluten-free cinnamon swirl raisin bread from The How Can it Be Gluten Free Cookbook (America’s Test Kitchen). The bread was a huge success – (I’m still enjoying slices from the freezer) – but what was equally exciting was the leftover gluten-free flour mix I had ready to go in the pantry. I’ve been baking quite a bit using that blend since then, and the cookies are finally turning out! The recipe below is adapted only to make these cookies gluten- and dairy-free, but otherwise comes straight from Aida Mollenkamp’s Keys to the Kitchen.

cookies_01

cookies_03

cookies_04

Espresso Chocolate Chip Cookies

Makes 2 dozen cookies

1/2 cup Earth Balance (soy-free), at room temperature

1 egg, at room temperature

3/8 cup cane sugar

1/4 cup brown sugar, packed

1 tsp. vanilla

142 g. America’s Test Kitchen gluten-free flour blend (you can find the recipe here)

1 tsp. salt

10g ground espresso / coffee

1/2 tsp. baking soda

1 cup chocolate chips

Heat the oven to 350. In a small bowl, combine the flour, baking soda, salt, and coffee. Set aside. In a larger bowl, combine the butter and two sugars. Beat with a hand mixer on high for 3 minutes, until mixture is light and fluffy. Add the egg and vanilla and beat for one minute. Add the flour mixture to the butter mixture and stir until combined. Add the chocolate chips and stir until incorporated.

Line two baking sheets with parchment or a Silpat sheet, and drop by the Tablespoonful onto the sheets. You should get about 12 per sheet and 24 cookies total. Bake one sheet at a time for roughly 8-10 minutes, or until cookies are set. Let cool completely before removing the cookies from the sheet, and store at room temperature in an air-tight container. cookies_05

cookies_06

cookies_07

cookies_08

cookies_09

cookies_10

cookies_13


three favorite recipes // august 2014

Rice Noodle Salad with Nuoc Cham | Inspired by Epicurious

Processed with VSCOcam with f2 preset

If I could I would eat a variation of this every day. This salad has all of the same elements and flavors as my favorite lunch in San Francisco- spring rolls from Out the Door

Summer Peach Crisp | The Year In Food

Processed with VSCOcam with f2 preset

I have made this recipe over and over again since Kimberley’s cookbook was released earlier this summer. It’s so delicious (and gluten free)! I highly recommend picking up a copy of Vibrant Food.

Fresh Corn Soup | Inspired by David Lebovitz, Sprouted Kitchen & Food52

Processed with VSCOcam with c1 presetThe first corn soup that really caught my attention was this one from Sprouted Kitchen. I made it on a whim for a dinner party three years ago, and it’s the basis of this recipe that I have followed many times since. Whenever you cut corn off the cob (in the summertime), save the cobs in the refrigerator until you are ready to make stock. When you do, cover them with salted water in the pot and simmer for several hours. The drained stock that results will add an extra depth of flavor to the soup that is more than worth the minimal effort.

I few variations I recommend: adding more heat with some roasted poblanos, texture (like David Lebovitz’ recipe here), or serving the soup as a base with a variety of toppings – roasted veggies, salsa & avocado (like pictured above), or even pork shoulder.

chocolate chip meringues

Meringue_08

One of my favorite parts of having lived in several different cities is the opportunity it has given me to explore each place through food. It’s unofficially become my technique for tackling a new home: make a list of coffee shops, book stores, and restaurants by neighborhood, and slowly wind my way through. I not only learn public transportation routes in the process, but usually get to meet some really great people along the way, too.

Even though I’m not actively thinking about these places in other cities (most of the time), when my friends or family members are planning a trip to Boston, driving through Chicago, or flying out to visit Jon and I in San Francisco, I have the opportunity to share some of my ideas. These may not be the top restaurants in your mind, but at them I found the cups of coffee and slices of peanut butter toast that helped each city feel like home.

I typed out a list for Boston earlier today (my sister is going there next month), and while I was working my way through the South End and Cambridge, Flour Bakery came to mind.  There’s a lot on the menu to love – the roasted chicken sandwich “as salad” for one – but my favorite is their meringue. There’s two varieties – almond, and chocolate – crunchy on the exterior and chewy inside, flecked with bits of toasted sliced almonds and shaved dark chocolate respectively. After I adding the Massachusetts Ave. location to my sisters’ list, I decided to make some chocolate chip meringues at home.

Since I don’t yet own the Flour cookbook, I decided to use a recipe from Smitten Kitchen, which you can find here.  If you’d like to know some of my other favorite places, just ask and I would be more than happy to share!  Until next time, Boston.

Meringue_03

Diptych

Meringue_07


a simple arugula salad

salad_01

A little while back, I went to lunch at Bar Tartine with a friend.  Their signature tartines are out of the picture for me (there’s a small amount of buttermilk in the rye bread), but there are plenty of other options on the menu, and that day, any hint of disappointment I had quickly dissolved when my lunch was set in front of me: chicories and other greens were layered with slivers of fennel, watermelon radish, and grated fresh horseradish. Have you ever had fresh horseradish on a salad? Apparently it’s a thing in San Francisco, as I had another salad two nights ago at Magnolia with a generous amount shredded on top. It was a little confusing to me at first – at Tartine, I thought that somehow my dairy allergy had been misunderstood and some asiago or parmesan had snuck into the bowl. But alas, horseradish. To be honest, I feel like I’m gaining something here. I do miss cheese, but in some way, this makes it a little more tolerable. It’s a little spicy, soft, and lends a wonderful flavor to whatever you add it to.

This week has been a weird sort of busy. I picked up a lot of greens last time I went to the store, and have been trying to keep some homemade salad dressing in the fridge to make dinner a little less complicated. Arugula, dijon-white wine vinaigrette, and a little fresh grated horseradish. It’s my new favorite simple salad.

Salad

1 inch knob of peeled fresh horseradish

4 cups washed and dried arugula

Dressing (below)

Salad_02

Vinaigrette 

Adapted slightly from 101 Cookbooks

1 teaspoon dijon mustard

1 1/2 teaspoons white wine vinegar

1 egg yolk

2 teaspoons lemon or meyer lemon juice

1/2 teaspoon salt

1/2 cup olive oil

Combine everything in a small jar & shake to fully combine. Toss with the arugula and season with black pepper. You may not need all of the dressing, but it keeps well in the fridge. Grate the horseradish on top and serve!

salad_03

salad_04

brown rice + almond butter granola bars

bars!

I was having a difficult time trying to figure out what I should call these. I’ve made them so many times, but each time, they’ve been a little different – which is, I suppose, a big part of the reason I love the recipe so much.

Essentially, you can make the granola bar to your taste by mixing in different combinations of dried fruit and nuts (or chocolate). I’m partial to dried cherries and almonds, so that is what I usually start with (and the recipe I chose to include here). In the past, I’ve also included dried apricots and pumpkin seeds – and am sure that dried blueberries, hazelnuts, or walnuts would be equally delicious. The key component that allows for their versatility is the honey-almond butter “glue” that holds them together.

In case the recipes here haven’t given me away just yet, I have a dairy and soy allergy. I have learned the hard way that when traveling, especially during the airport portion, eating can be pretty tricky unless I plan in ahead. Almost all of the time, the seemingly simple things like bread, oatmeal, and even organic whole ingredient snack bars have traces of milk or soy lecithin (if you have to read food labels for any reason,  you can relate). So since Jon and I will be traveling this weekend, I decided to make these to take along. They pack really well and are a good snack on the plane.

bars_2

Before you get started, here are a few things you should know about this recipe. 1) If you have the time and equipment, I highly recommend making your own almond butter. It’s very easy, and makes a world of difference in the final product. 2) If you exceed the amount of dried fruit or nuts/seeds listed, you’ll likely have to compensate with a higher volume of the almond butter and honey mixture. The ratio is roughly 3:2 (fruit/nut to almond butter mixture) 3) Toast the oats, seeds, and nuts separately. Each has a different optimal toasting time, and the turning point is often reached quickly, so watch them carefully. They will become fragrant and slightly browned when done.

almonds+seeds

brown rice + almond butter granola bars

(adapted from food 52)

1 1/2 cups gluten free oats*

1 cup raw sunflower seeds

1 cup raw sliced almonds

1 1/2 cups dried cherries

3 cups brown rice cereal

1 cup almond butter (see recipe below for homemade)

1 cup raw honey

1/4 – 1/2 tsp. salt (start with less, add more to taste — will vary if almond butter is salted or unsalted)

1 tsp. ground cinnamon

*This version also happens to be gluten-free, as the brown rice cereal is naturally, and the oats can easily be swapped for a gluten-free variety. Regular old fashioned oats work just as well.

Preheat the oven to 350. Toast the oats, almonds, and sunflower seeds separately. The oats should take about 15 minutes, sunflower seeds about 12-14, and almonds about 10-12. Meanwhile, measure the rice cereal into a large bowl. As you finish toasting the oats, seeds, and nuts, add them to the bowl with the cereal. Once everything is done and slightly cooled, add the cherries and mix well to combine.

Prepare a 13×9 pan by greasing it slightly. Alternatively, line the pan with parchment paper to prevent the bars from sticking.

honey

In a small saucepan, combine the honey and almond butter. Heat on low, just until the mixture thins slightly and small bubbles form on the sides. It’s important not to let the mixture boil, it will make it too dry and won’t hold the bars together well. Once it’s heated, add the salt and cinnamon and stir until incorporated. Pour the warmed almond butter and honey over the cereal mixture, and toss gently but thoroughly to make sure everything is combined.

jars

Pour the mixture into the prepared 13×9 pan, using a spatula to distribute it evenly. Once it is loosely in place, take a sheet of parchment paper the size of the pan and lay over top. Use your hands to press the bars into the corners, smoothing over the top as you go. Cover tightly with plastic wrap and refrigerate overnight. The next day (or at least 4 hours later), cut the bars however you like and store them in an airtight container.

almond butter

3 cups raw almonds

1/2 tsp. sea salt

Preheat the oven to 350. Toss the almonds on a baking sheet and toast for 12 minutes. Let cool slightly, but not completely. Put all three cups in a food processor, and process to a fine powder. At this point, the almonds will start to break down. Continue to let the processor run, stopping to scrape down the sides every 2 minutes or so. When it’s finished, it will be smooth and creamy, usually after letting the food processor run for at least 10-12 minutes. Add the salt and honey, and pulse to combine. Store in an airtight jar. You will use almost all of it for the granola bars.

all celebrations

cake_01

there is a lot for me to be thankful for already this year.

that said, 2012 was a pretty big one for me – and without even taking the first half of it into account (when some of the biggest and happiest events took place) – the six months that have passed since I moved out to san francisco have been a little bit of everything. I’ve been conference planning, job hunting, exploring the city & learning new bus routes, cooking a lot, working for a small chocolate company, meeting lots of very talented people, making new friends, recovering from injuries, and cooking some more. even though jon has called this apartment home for over two years now, I am starting to feel like it’s my home now, too.

I’m glad that at the beginning of 2013, when somehow everything feels like it’s starting again, that I am feeling settled in my place. I have been a little absent here, I realize, but I’ve been doing some brainstorming and a bit of changing things around, and I’m excited for those little changes. web designer I am not, but when I look back to when I started writing a few years ago, I am happy with the progress on this blog and hope to continuously improve. other than general layout, i’ve added a recipe page as a way to catalogue my cooking experiments (see below “about”). Rest assured – even though my posts have been sporadic, I definitely have not stopped cooking, and am looking forward to sharing some of my new favorites here in the coming weeks and months.

cake_03

on the topic of new favorites, this recipe definitely is high on the list of desserts – from bon appetit’s march 2012 issue. It’s actually a vegan cake (great for me), and has such intense chocolate flavor (while being incredibly light & moist, somehow – even better). it’s amazing, every time. it also halves really nicely, and goes well with a variety of frostings, or on it’s own.

for jon’s birthday last year, I made (dairy free, soy free) peanut butter buttercream to go on top. here’s to 2013, and all sorts of celebrations to come!

chocolate cake (slightly adapted from bon appetit)

*see note for making a layer cake!

1 1/4 cups all-purpose flour

1 cup sugar

3/4 cup unsweetened cocoa powder

1 1/2 t. kosher salt

1 t. baking soda

1/4 cup vegetable oil (plus 1 T. to grease the pan)

1 t. vanilla extract

1/2 cup chopped dark chocolate

*I doubled the recipe & used a 9” round and 4” round cake pan to make a layered cake. baking times – for the 4” cake at 350 – roughly 20-25 minutes, rotating half-way through. for the 9” cake, plan on around 30-35 minutes. watch carefully, you don’t want to overcook this one & make it dry.

Preheat the oven to 350, and coat the bottom and sides of an 8 x 8 x 2 pan with the oil, then line the bottom with parchment paper. whisk flour, sugar, cocoa powder, salt and baking soda together in a bowl. add the oil, vanilla, and 1 1/4 cup water, whisk till smooth. fold in chopped chocolate. scrape into the pan, and bake until tester come out clean when inserted into the center – roughly 35 minutes. let sit until the pan is cool enough to touch, and carefully invert the cake onto a cooling rack to cool completely.

cake_02

peanut butter buttercream

(*bon appetit’s version is lighter than traditional buttercream & is great on this cake, but for jon’s birthday cake, I went for something a little different)

2/3 cup smooth peanut butter (non-natural peanut butter works better here)

8 T. (1 cup) soy-free earth balance, at room temperature

3/4 cup confectioners sugar

1 t. vanilla

1-2 T. almond milk (if needed)

in a medium bowl, combine the peanut butter, vanilla and earth balance and beat until well incorporated, 1-2 minutes. with the beater on slow, add in the confectioners sugar in 1/4 cup increments, beat after each addition. if the frosting looks a little dry (will depend in part on the peanut butter you use), add 1 – 2 tablespoons of almond milk to make it smooth & creamy.

once the cake has cooled completely, carefully lift it to a plate or serving tray, and frost the sides and top with the buttercream. (you may not need all of the frosting). finish the cake with chocolate shavings.

cake_04

avocado BLTs

last weekend, jon and I drove to big basin redwood state park.

we made our way there and back on highway one, starting south out of san francisco on 280 – through pacifica and half moon bay – until we reached la honda road and wove east on skyline boulevard to highway 9.

it’s been a few months since our last trip out of the city. at the end of july, shortly after arriving in california (and newly married), we took a week to drive to and from portland. while the trip to portland is one that could be done in a day, we decided that we’d rather take our time and see the coast – stop at state beaches and visitors centers along the way, really take things in – so with a back seat full of camera equipment, books, and food, we set out across the golden gate bridge toward eureka.

10 miles shy of the oregon border, we cut east on highway 199 away from crescent city per the suggestion of a national park employee in orick. using our phones as a guide, we took a few turns off the redwood highway into jedediah smith redwood state park, and landed on an almost single-lane road that snaked through the giant trees. compared to being 10th in a line of cars along a two-lane highway, the byway felt like a well-kept secret – the ability to stop underneath the trees was something I’ll never forget about that drive. and just as easily as we had found our way onto this road, we made our way to the other end  – into oregon.

on this recent weekend trip, all it took was the thirty-minute stretch on skyline boulevard to make me feel the same as I had in jedediah smith state park. the narrow road linked jaunts through the tall trees with stretches along the crest of a hill by way of tight turns and ascents away from the ocean. when we arrived in the park, jon cooked bacon in our new dutch oven, and we made these sandwiches. every once in a while, it feels really good to get away.

avocado blts

makes 2 sandwiches

4 slices country bread (we used semifreddis sweet batard)

6 slices thick cut bacon

1 cup roasted cherry tomatoes (see below)

1 medium avocado

sea salt

2 handfuls of arugula

We packed all of our ingredients – some prepared, some not. Start with the bacon – cook over the fire (or on the stove) in a cast iron pan (we cooked ours on the lid of the dutch oven) until crisp. While the bacon is cooking, mash the avocado slightly and season with sea salt. spread the avocado mash onto one side of the bread, layer with 1/2 of the roasted tomatoes, then arugula. When the bacon has finished cooking, break each piece in half and layer on top of the arugula – 3 slices per sandwich. Top with the other slice of bread & cut in half.

roasted tomatoes

(inspired by these from heidi swanson)

1 1/2 – 2 cups cherry tomatoes, cut in half

2 T. brown sugar

1/2 tsp. salt

2-3 T. olive oil

On a foil-lined baking sheet, toss the tomatoes with the olive oil, then sprinkle with sugar and salt. Roast at 400 for 30-40 minutes. Once the tomatoes have cooled, store them in the fridge in an air-tight container.