


7×7 has a series on their website titled “Ultimate Sunday Hikes.” I always find them during the week, when I’m most anxious to spend more time outdoors and making plans for the weekend. Fitting. This week, the feature was an East Bay trail, touted as the “hidden gem of Northern Contra Costa County.” I was sold. So today, Jon and I drove up to Crockett to follow the recommendation.
The trail was easy, dotted with cows and Eucalyptus trees, and ended in one of the cutest towns I’ve been to in such close proximity to San Francisco. If you live in the Bay Area and haven’t walked the trail from Crockett to Port Costa, now is the time. To get there, take the last exit off I-80 East before you cross over the Carquinez Bridge, then take a left onto Pamona Street. Follow Pamona through downtown Crockett until you reach the Bull Valley Staging area. Take a left, and park on the lower level. There are two trails that lead to Port Costa, so use the trip as an excuse to make the complete loop- both sides are gorgeous. Already looking forward to going back, and staying at the The Burlington Hotel.
Day hikes are one of my favorite ways to explore the Bay Area, so I am hoping to spend more time documenting my favorites here.


Rice Noodle Salad with Nuoc Cham | Inspired by Epicurious

If I could I would eat a variation of this every day. This salad has all of the same elements and flavors as my favorite lunch in San Francisco- spring rolls from Out the Door.
Summer Peach Crisp | The Year In Food
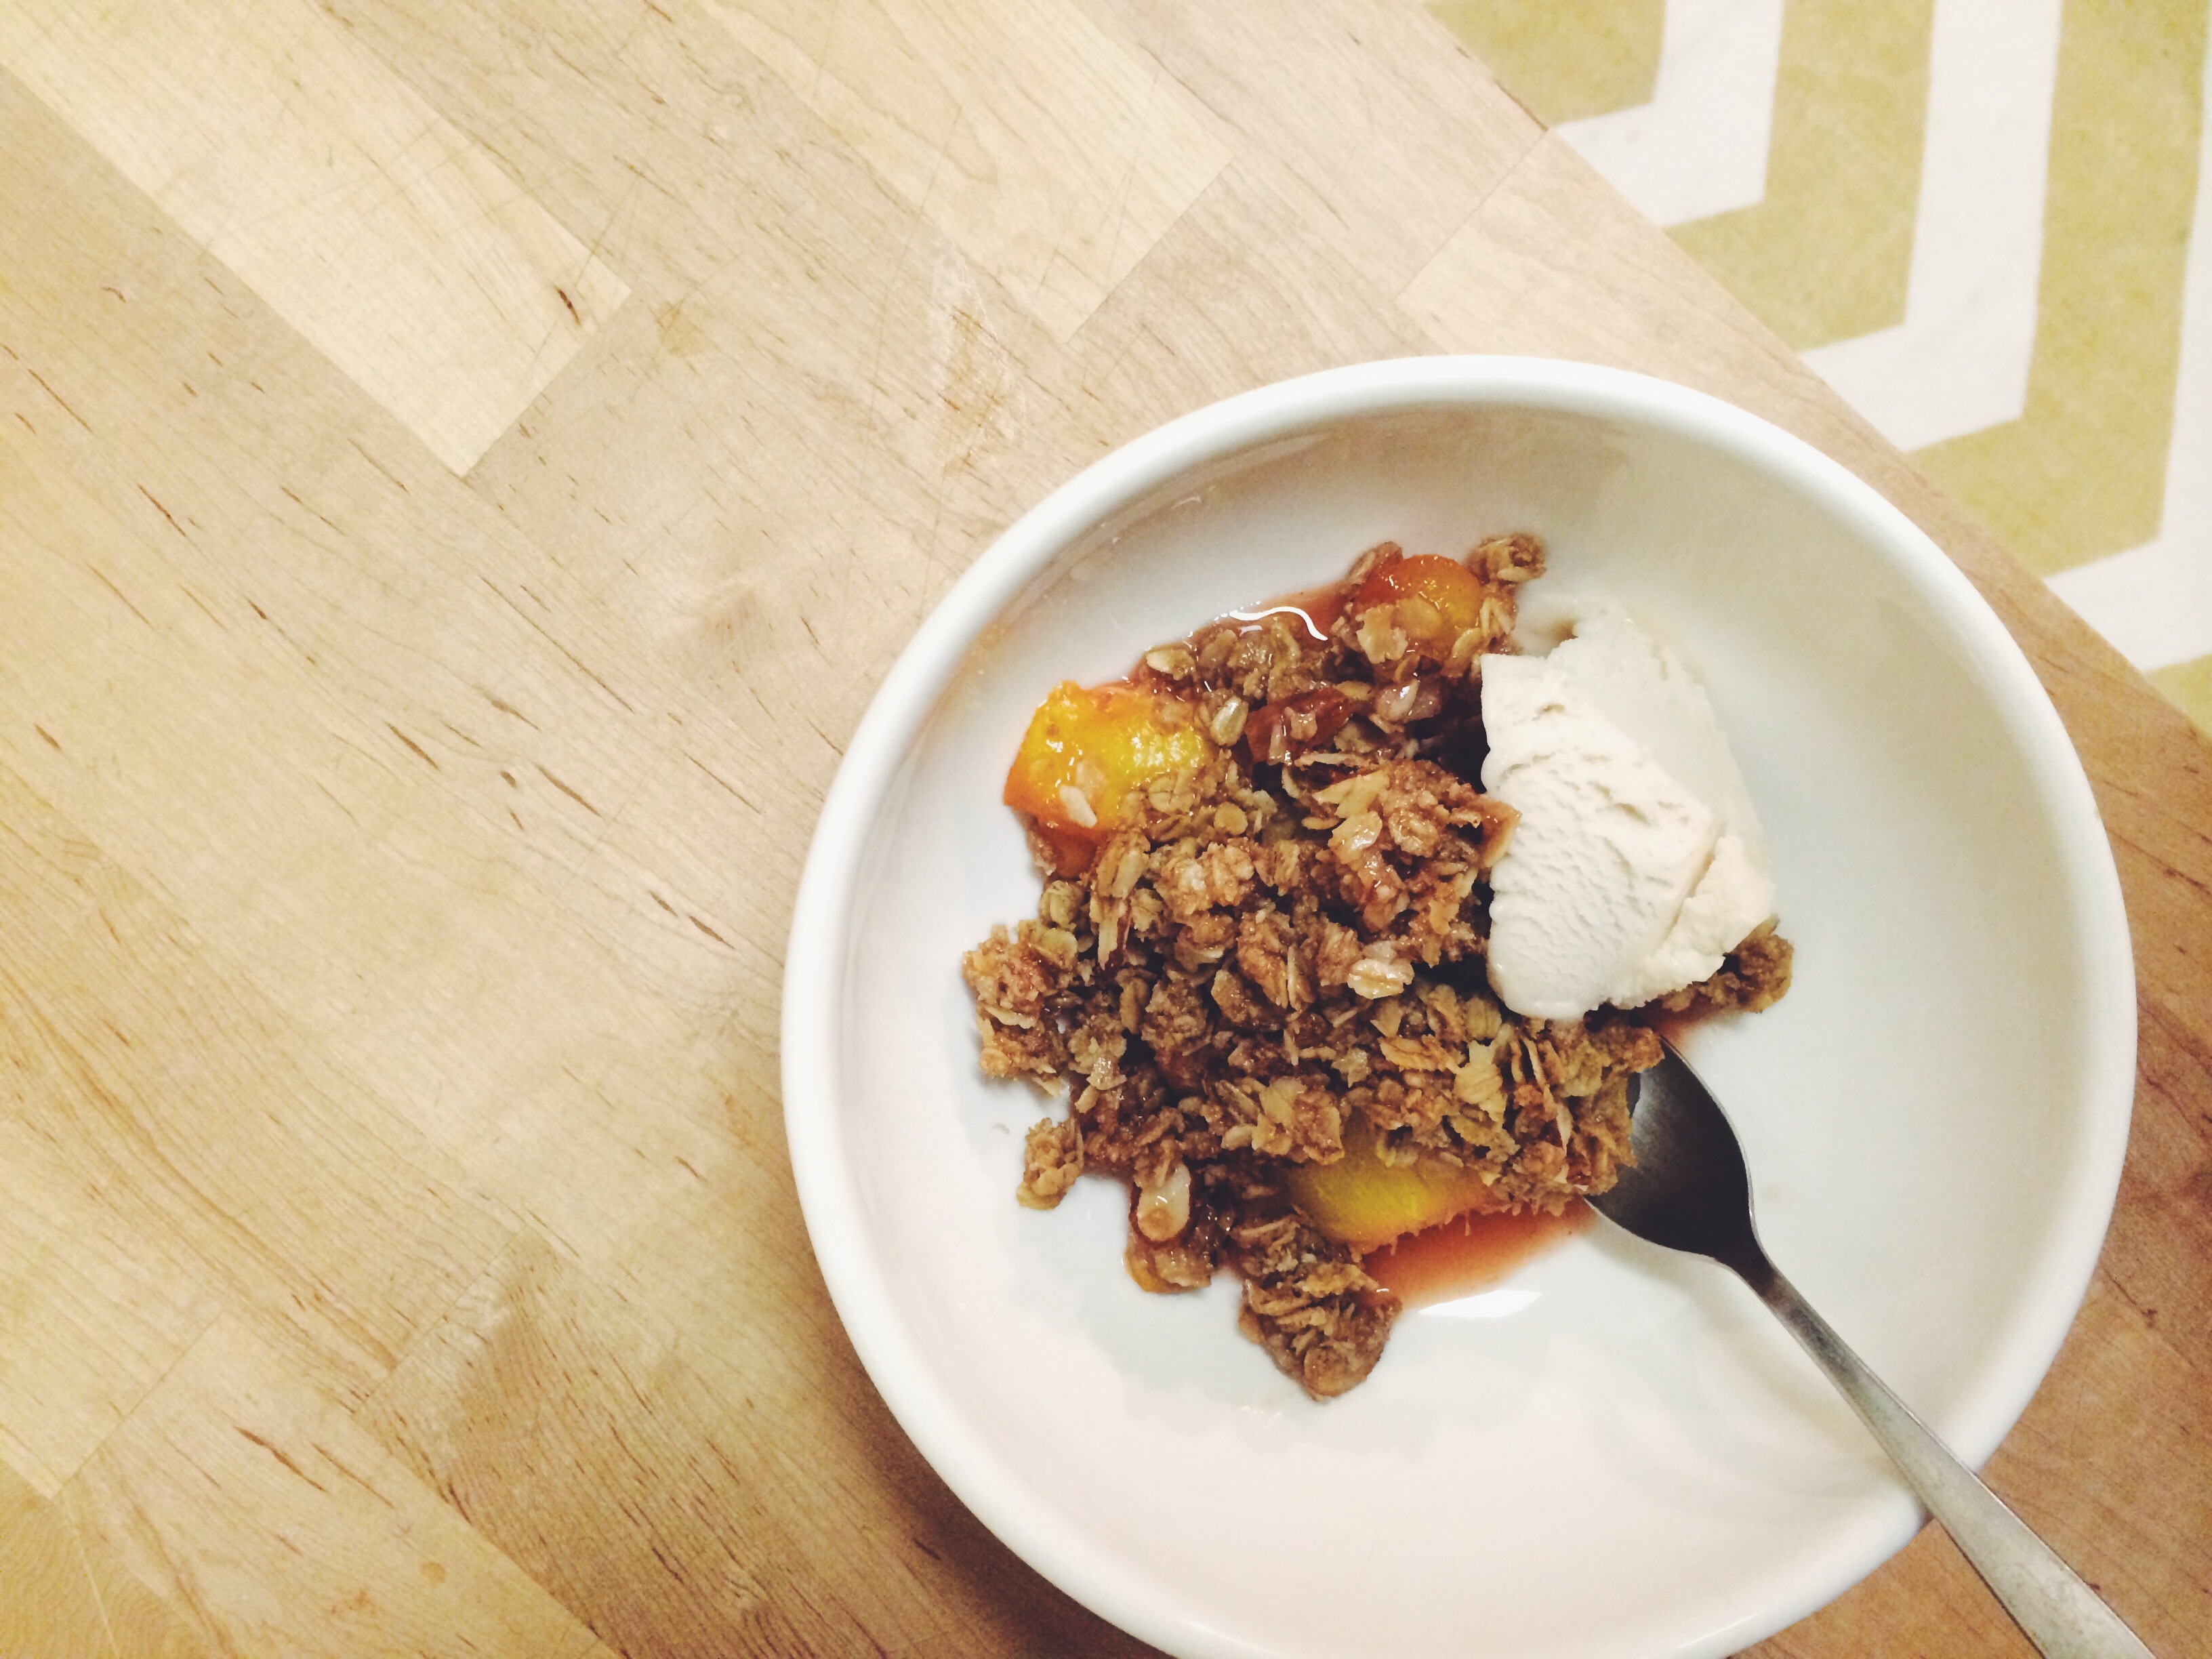
I have made this recipe over and over again since Kimberley’s cookbook was released earlier this summer. It’s so delicious (and gluten free)! I highly recommend picking up a copy of Vibrant Food.
Fresh Corn Soup | Inspired by David Lebovitz, Sprouted Kitchen & Food52
 The first corn soup that really caught my attention was this one from Sprouted Kitchen. I made it on a whim for a dinner party three years ago, and it’s the basis of this recipe that I have followed many times since. Whenever you cut corn off the cob (in the summertime), save the cobs in the refrigerator until you are ready to make stock. When you do, cover them with salted water in the pot and simmer for several hours. The drained stock that results will add an extra depth of flavor to the soup that is more than worth the minimal effort.
I few variations I recommend: adding more heat with some roasted poblanos, texture (like David Lebovitz’ recipe here), or serving the soup as a base with a variety of toppings – roasted veggies, salsa & avocado (like pictured above), or even pork shoulder.
last weekend, jon and I drove to big basin redwood state park.
we made our way there and back on highway one, starting south out of san francisco on 280 – through pacifica and half moon bay – until we reached la honda road and wove east on skyline boulevard to highway 9.

it’s been a few months since our last trip out of the city. at the end of july, shortly after arriving in california (and newly married), we took a week to drive to and from portland. while the trip to portland is one that could be done in a day, we decided that we’d rather take our time and see the coast – stop at state beaches and visitors centers along the way, really take things in – so with a back seat full of camera equipment, books, and food, we set out across the golden gate bridge toward eureka.
10 miles shy of the oregon border, we cut east on highway 199 away from crescent city per the suggestion of a national park employee in orick. using our phones as a guide, we took a few turns off the redwood highway into jedediah smith redwood state park, and landed on an almost single-lane road that snaked through the giant trees. compared to being 10th in a line of cars along a two-lane highway, the byway felt like a well-kept secret – the ability to stop underneath the trees was something I’ll never forget about that drive. and just as easily as we had found our way onto this road, we made our way to the other end – into oregon.
on this recent weekend trip, all it took was the thirty-minute stretch on skyline boulevard to make me feel the same as I had in jedediah smith state park. the narrow road linked jaunts through the tall trees with stretches along the crest of a hill by way of tight turns and ascents away from the ocean. when we arrived in the park, jon cooked bacon in our new dutch oven, and we made these sandwiches. every once in a while, it feels really good to get away.


avocado blts
makes 2 sandwiches
4 slices country bread (we used semifreddis sweet batard)
6 slices thick cut bacon
1 cup roasted cherry tomatoes (see below)
1 medium avocado
sea salt
2 handfuls of arugula

We packed all of our ingredients – some prepared, some not. Start with the bacon – cook over the fire (or on the stove) in a cast iron pan (we cooked ours on the lid of the dutch oven) until crisp. While the bacon is cooking, mash the avocado slightly and season with sea salt. spread the avocado mash onto one side of the bread, layer with 1/2 of the roasted tomatoes, then arugula. When the bacon has finished cooking, break each piece in half and layer on top of the arugula – 3 slices per sandwich. Top with the other slice of bread & cut in half.


roasted tomatoes
(inspired by these from heidi swanson)
1 1/2 – 2 cups cherry tomatoes, cut in half
2 T. brown sugar
1/2 tsp. salt
2-3 T. olive oil
On a foil-lined baking sheet, toss the tomatoes with the olive oil, then sprinkle with sugar and salt. Roast at 400 for 30-40 minutes. Once the tomatoes have cooled, store them in the fridge in an air-tight container.

the fall semester is underway, and it’s my last as a full-time student in the gastronomy program at boston university. hard to believe.
as I’m getting settled back in boston, my legs are adjusting from the miles-long bike commutes to the mission to long walks across the BU bridge, through cambridge, to campus. this fall brings a lot of good with it: multiple San Francisco visitors, my cousin’s wedding next weekend in kalamazoo, and a pending trip down to new york. it feels good to move to an already-familiar place.
all throughout my work with la cocina over the summer, I had been contemplating ideas for my thesis. I was interested in aspects of the incubator model, and its ability to be transferred to other neighborhoods around the country; in other market-entry incubators, including markets like Off the Grid and The Underground Market; and the potential of incubators like La Cocina to continue to foster the growth of small food-business start-ups in San Francisco. What impressed me over and over again with this non-profit in particular was the depth of commitment to their clients: each email sent to a volunteer, each jog up the stairs to the storage cages in preparation for a cooking class, and each organizational meeting for the street food festival–was done with the goal of showcasing these culinary entrepreneurs. whatever form my thesis ends up taking, I hope it will at least be a small reflection of the passion that runs La Cocina. the work they’re doing is changing lives in the Mission District, mine included.

It’s so good to have another option for breakfast. Last year when jon and I were visiting Anne in Philadelphia, we went to the reading terminal market as part of our downtown tour. amongst a million options, I ended up choosing a cup of coffee and millet muffin from metropolitan bakery: it was nutty, had a crunchy top but surprisingly light and pleasant middle, not too sweet. it was delicious. I’ve been meaning to attempt a replication ever since, and was inspired once again this morning when I woke up and saw the glass jar of millet sitting next to the sink. as I am currently without a muffin tin; I used a small loaf pan instead which worked great.
forty-five minutes later i had successfully recreated the market muffin in a small apartment kitchen in san francisco.

millet bread
(slightly adapted from 101 Cookbooks)
1 1/8 cups whole wheat flour
1/3 cup raw millet
1 teaspoon baking powder
1/2 teaspoon salt
1 cup almond milk
1 large egg, lightly beaten
1/4 cup melted butter
1/4 cup honey
1 T. lemon zest
1 T. lemon juice
Preheat the oven to 400 degrees and butter the loaf pan.
Combine the flour, millet, baking powder and salt in a large bowl. In another bowl, whisk together the milk, eggs, butter, honey, and lemon zest and juice until smooth. Add the wet ingredients to the dry ingredients and stir until the flour is just incorporated. Pour the mixture into the pan.
Bake for about 35-40 minutes, until the top is brown and just barely begins to crack. Let cool for 5 minutes in the pan, then serve with honey butter.
*I substituted earth balance for butter to make the recipe dairy-free.


a few weeks ago i did a short write-up about my internship at la cocina for the gastronomy students’ blog: to san francisco: in support of culinary entrepreneurs. it can be found here: http://gastronomyatbu.wordpress.com/2011/07/08/to-san-francisco-in-support-of-culinary-entrepreneurs/


photos were taken at la cocina’s “african feast” cooking class, june 8th

it’s been a week of firsts. first time living (actually, living) in san francisco, first time i’ve attempted to rely on a bike as my only means of transportation, and my very first attempt at making strawberry jam.
even though i miss my friends in boston, the break from mugar library and a full course-load is oh so welcome.
for the next three months, i’ll be working most-of-the-time as a policy intern at la cocina; spending another part of my time at la cocina’s kiosk at the ferry building, and devoting the rest to the food scene in the bay area. that third leg not only constitutes an ever growing must-visit restaurant list, but a few food projects of my own. the tartine book is staring at me from the table, but i went backwards and started with the jam.
strawberry jam
slightly adapted from food in jars
3 cups stawberries, stemmed and sliced in half
1 1/2 cup sugar, divided
1 lemon, zested and juiced
combine the berries in a large bowl with half of the sugar, and macerate for at least 4 hours.
after 4 hours (and up to 3 days in the fridge), combine the strawberries with the remaining sugar in a saucepan. bring to a boil, then cover and simmer until the mixture reaches 220 degrees. test the consistency on the back of a metal spoon for readiness. the jam should be relatively thick on the back of the spoon, but still slightly runny. add the juice and zest and cook for 5 minutes longer.
meanwhile, prep three half-pint jars and their lids. prep canning materials. pour the jam into the three jars, wipe the mouths of the jars clean and seal. proceed according to the canning directions.


next time you’re in the bay area, be sure to check out bike basket pies. photos were taken during a day I spent with lovely owner + operator, natalie galatzer.


